JDK
The JDK includes tools for developing and testing programs written in the Java programming language and running on the Java platform. Since we are using IntelliJ IDEA, it is recommended to get the JDK directly from it.
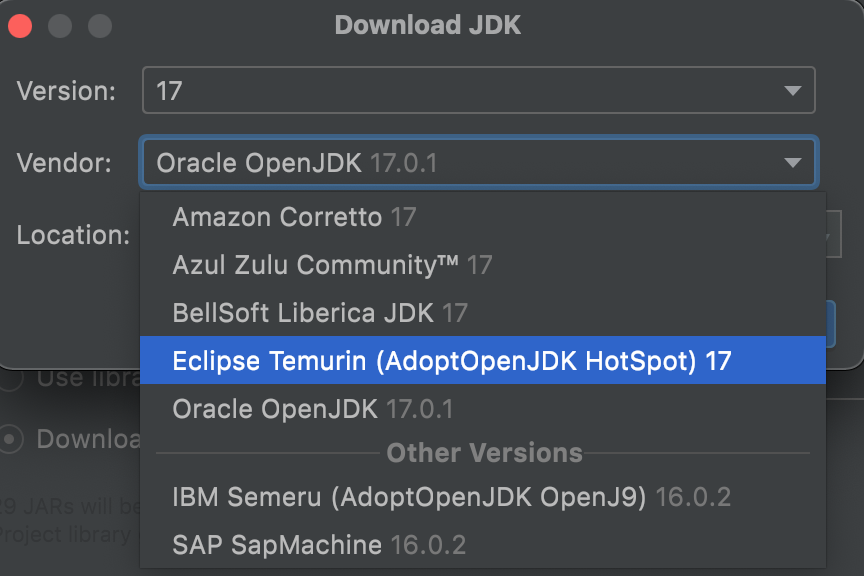
When creating a project in IntelliJ IDEA, you can choose the target JDK built by different vendors (e.g., Oracle OpenJDK, Amazon Corretto, and Eclipse Temurin) in Project SDK setting by clicking Download JDK.

Install JDK manually
If you are using UNIX-like platforms (e.g., MacOS and Linux), you'd better to ask package managers for help. See the details in the next part.
Step 1: Download JDK. Go to the website provided by your target JDK vendor, for example, https://docs.aws.amazon.com/corretto/latest/corretto-17-ug/downloads-list.html, and then download either installer (then go to Step 2(a)) or package (then go to Step 2(b)) that is compatible with your operating system.
Step 2(a): Install JDK. Double click the installer, and it is fine to always click next and use the default settings.
Step 2(b): Un-compress JDK. Extract the .tar.gz file to any place you like, and then add an environment variable for JAVA_HOME.
Install JDK by package managers
If you would like to download and install preferred JDK without the help of IntelliJ IDEA, package managers (e.g., Homebrew in MacOS, APT in Ubuntu, and Pacman in Manjaro) can alleviate the manual work. Here, we strongly recommend SDKMAN! on UNIX-like platforms.
Step 1: SDKMAN! Installation. Install SDKMAN!.
$ curl -s "https://get.sdkman.io" | bash
$ source "$HOME/.sdkman/bin/sdkman-init.sh"
Step 2: JDK Installation. Install target JDK via SDKMAN!. For example, the following command will install JDK 17 build by Eclipse Adoptium Temurin.
$ sdk install java 17.0.0-tem